Showing posts with label Pasta. Show all posts

Sunday, June 13, 2010

Easy Italian Meatballs

Who doesn't love meatballs? Who actually cooks them at home? Over the years, I have realized that some people find meatballs to be confusing and hard to make (by people I mean me. Matt remembers my first attempt at baking them...). In reality, it's not any harder than making meatloaf. I promise you.

Ingredients
1 pound Hamburger meat
1 package of Jimmy Dean Hot Sausage
1 Small onion, chopped
3/4 Cup of Italian Bread Crumbs
1tsp Garlic Salt
1Tbsp Italian Seasoning
1Tbsp Minced Garlic
2 Eggs, Beaten

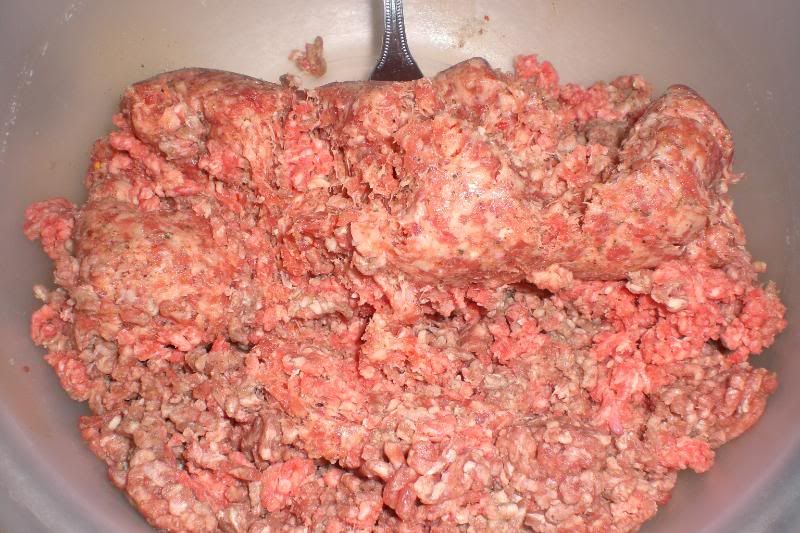
1. Mix hamburger and sausage together in medium sized bowl
Italian Meatballs


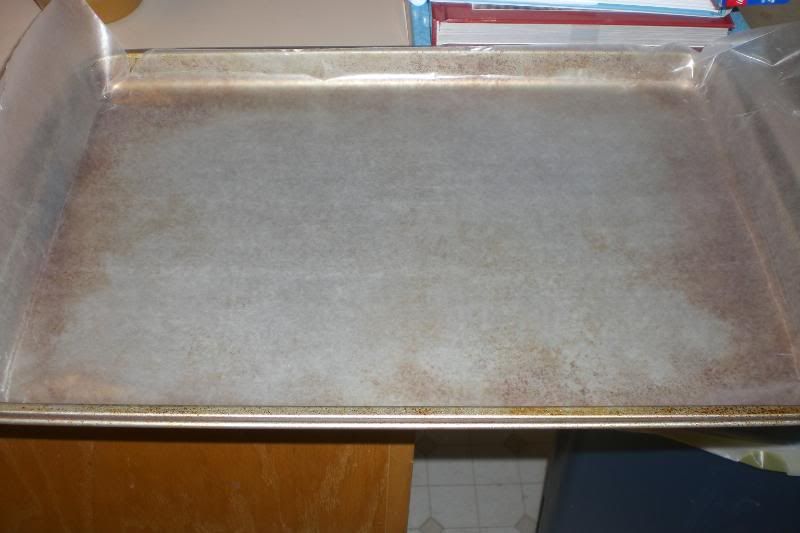
2. Line baking pan with wax paper
Italian Meatballs


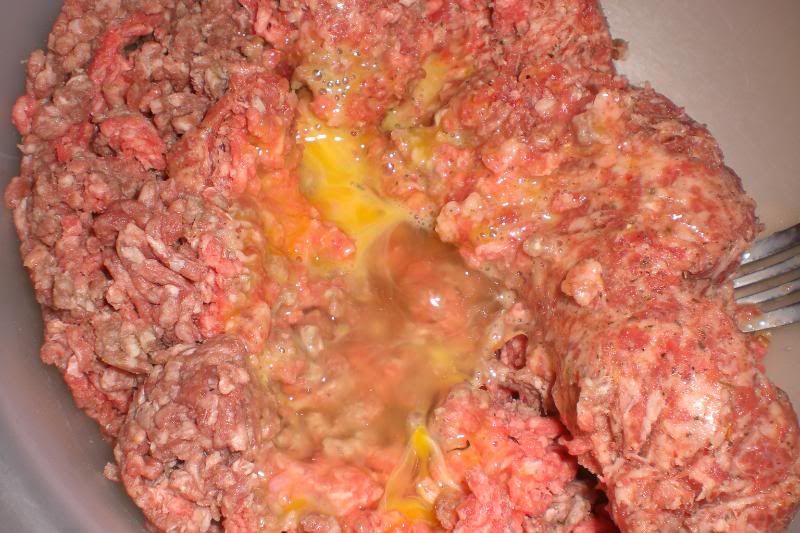
3. Add eggs to Hamburger and sausage mixture
Italian Meatballs


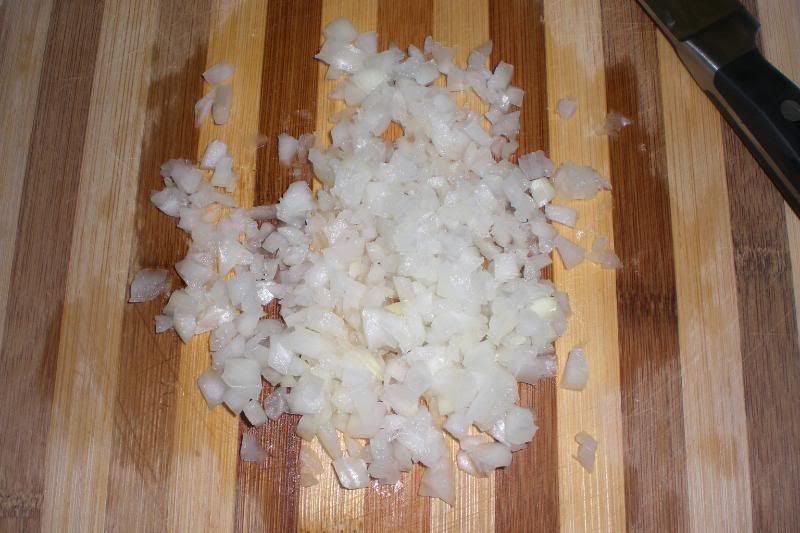
4. Chop onion
Italian Meatballs


5. Measure out Garlic Salt, Italian Seasoning, and Minced Garlic (you can mince fresh, I am out, so I used my jar)
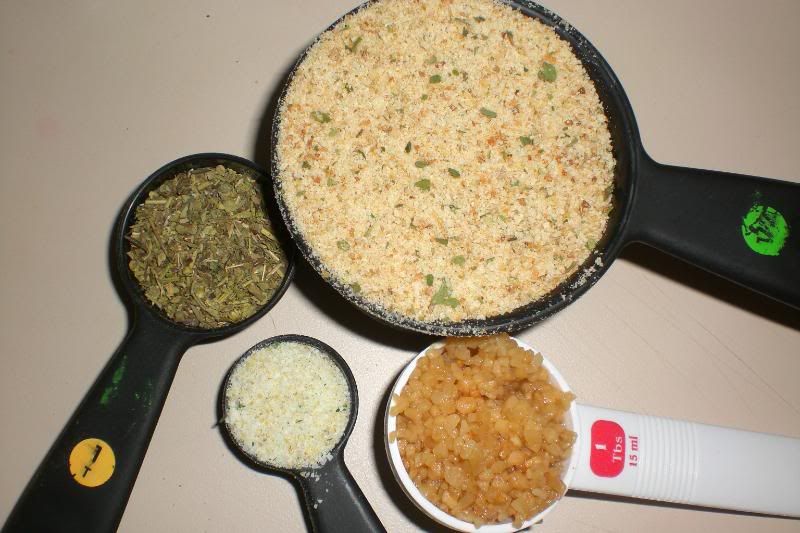
Italian Meatballs


4. Add Onion, Garlic Salt, Italian Seasoning, and Minced Garlic to meat mixture
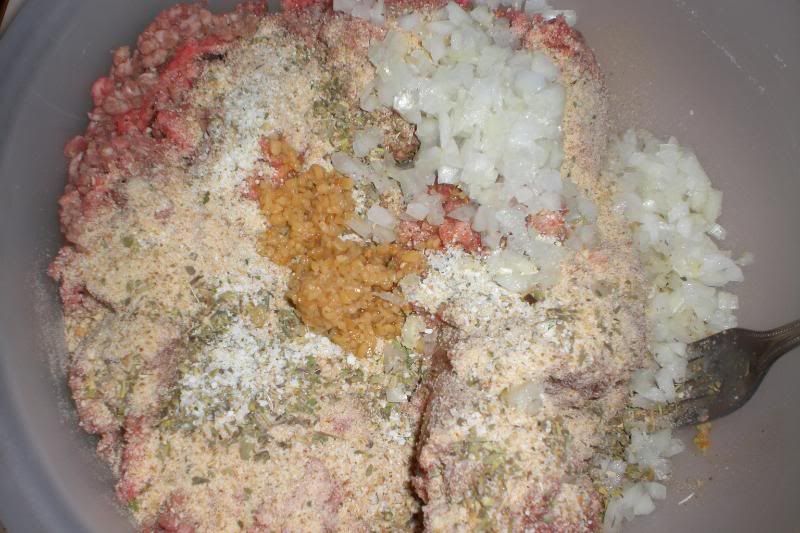
Italian Meatballs


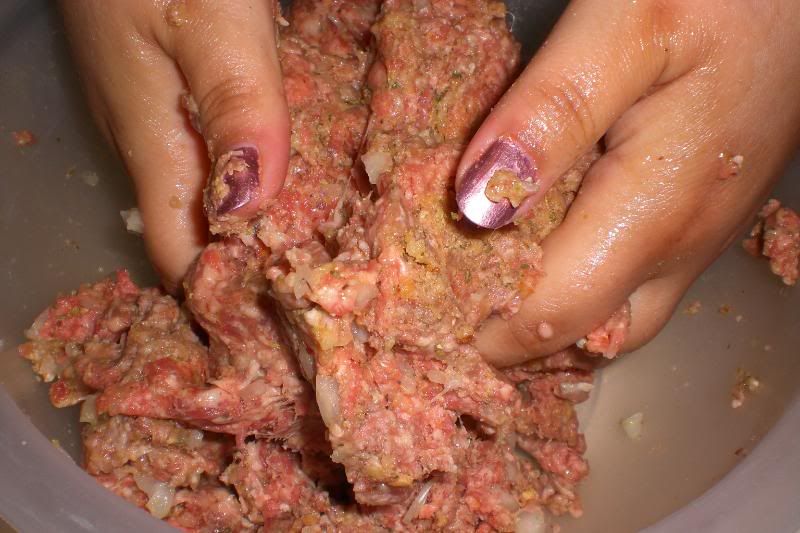
5. This is important: HAND MIX. This is the best way to make sure that everything is mixed well. You're going to have to use your hands to roll the balls, so go ahead and get them dirty!
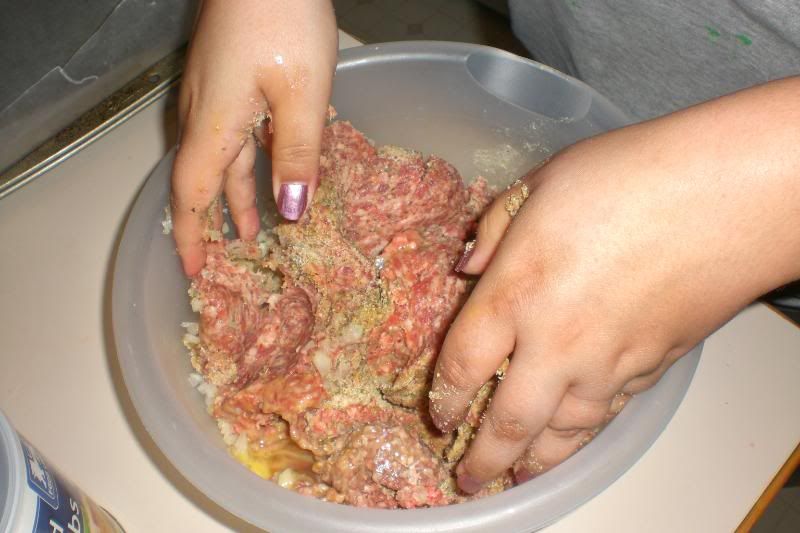
Italian Meatballs
Italian Meatballs


6. Roll mixture into golf ball sized balls, and place on baking sheet.
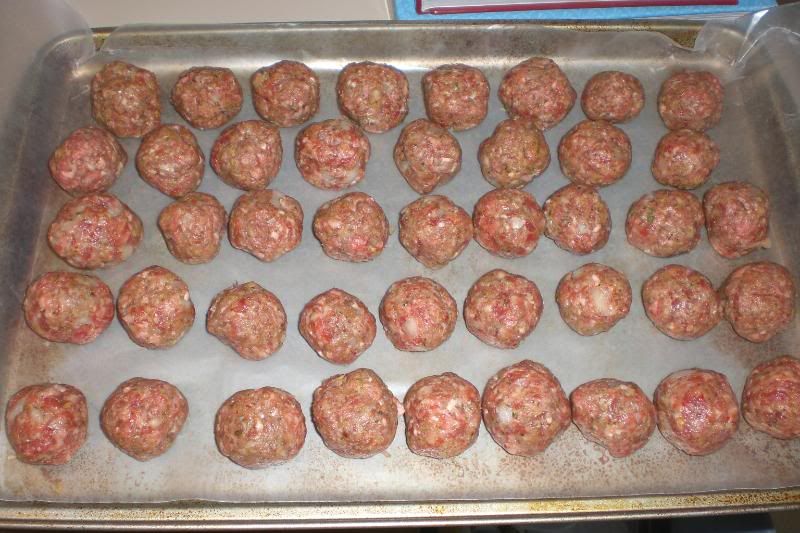
Italian Meatballs


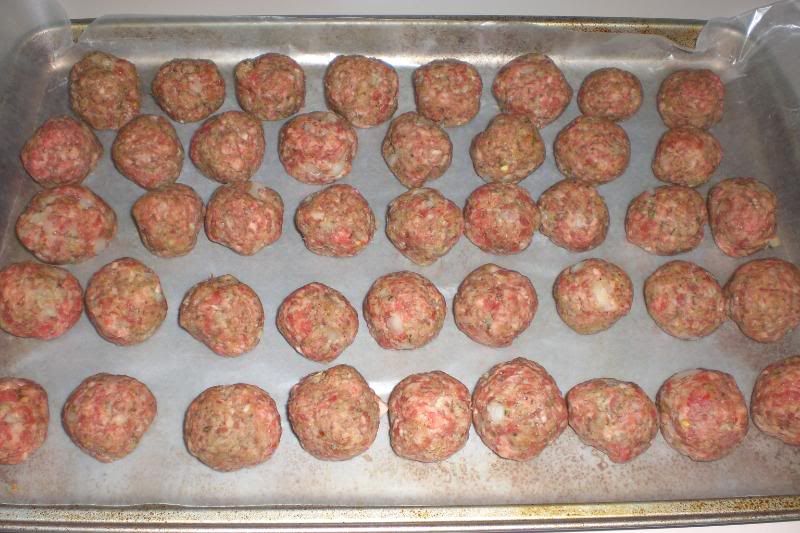
7. Place baking sheet into fridge for at least 1 hour. I did this at 12pm and am not going to be adding them to the pasta sauce until about 4pm. You can even do them the night before it needed. If your day is going to be busy, do it! Prep makes life so much easier. Here are the balls fresh out of the fridge:
Italian Meatballs


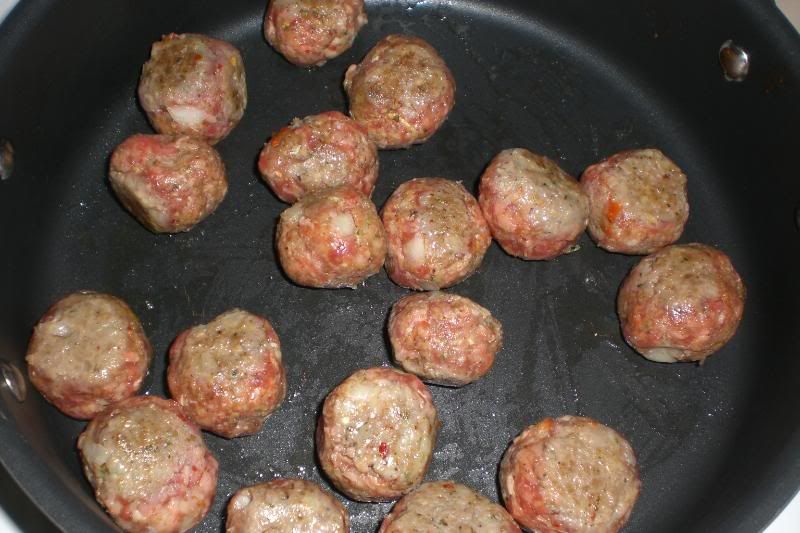
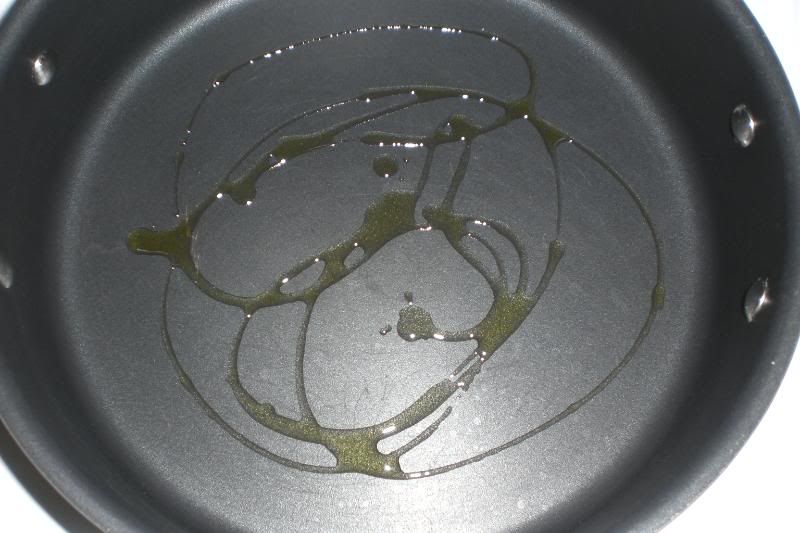
8. When ready, heat frying pan with 1Tbsp of olive oil. Fry meatballs on each side, lightly browning, but not cooking through.
Italian Meatballs

Italian Meatballs


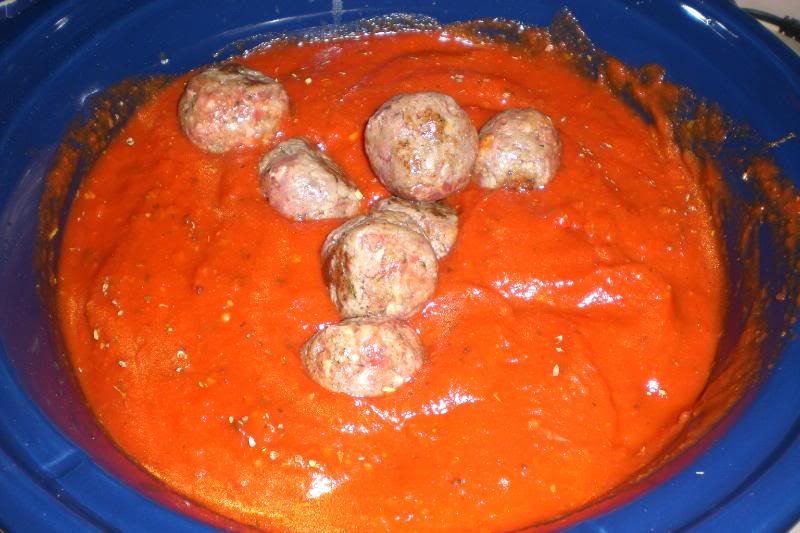
9. Add Meatballs to pasta sauce, which should be cooking on low heat in a crock pot, or med-low heat on stove.
Italian Meatballs


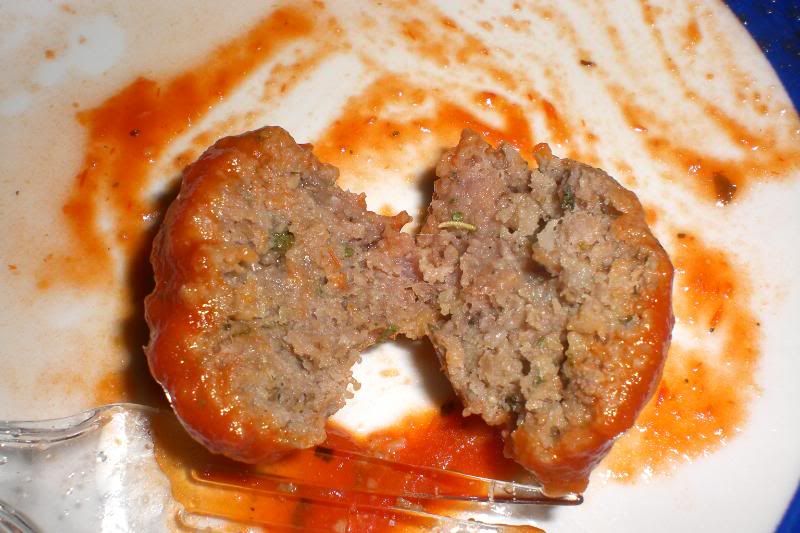
10. Cook for 2 hours, or until cooked through.
Italian Meatballs


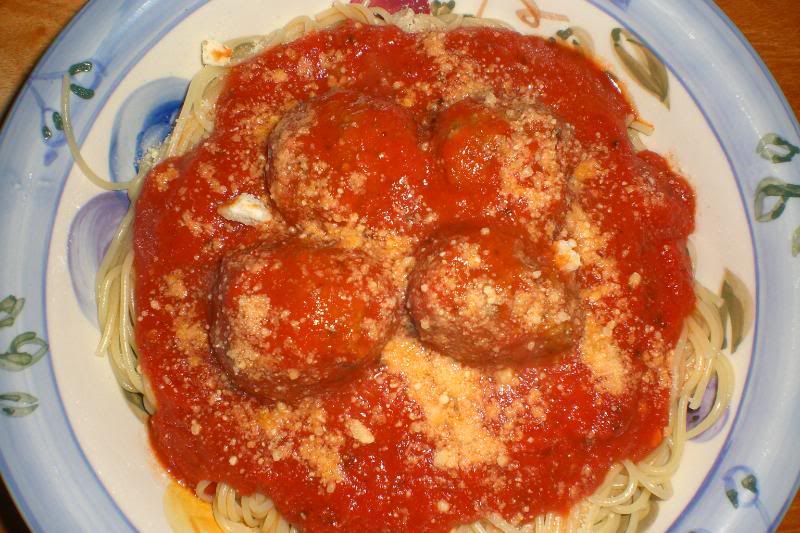
11. Serve over spaghetti noodles!
Italian Meatballs

Sunday, May 23, 2010

Bowtie Festival

My husband has fallen in love with this recipe. I am "ordered" to make it for all of his holidays. Fathers Day, birthdays, Panthers season openers, every time the Panthers win... (So, maybe not that often!)

I got the idea from Johnny Carinos Bowtie Festival, which is wonderful. Dear Husband says mine tastes better.

Ingredients:
2 Chicken Breasts
1/4 Cup Bacon
1/4 Cup Red Onion
1 Garlic Clove
2Tbsp Heavy Cream
1/4 Cup Asiago Cheese
2 Roma Tomatoes (those oval shaped tomatoes)
Alfredo Sauce
1/8tsp Garlic Salt
Pepper
1 Pat of Butter

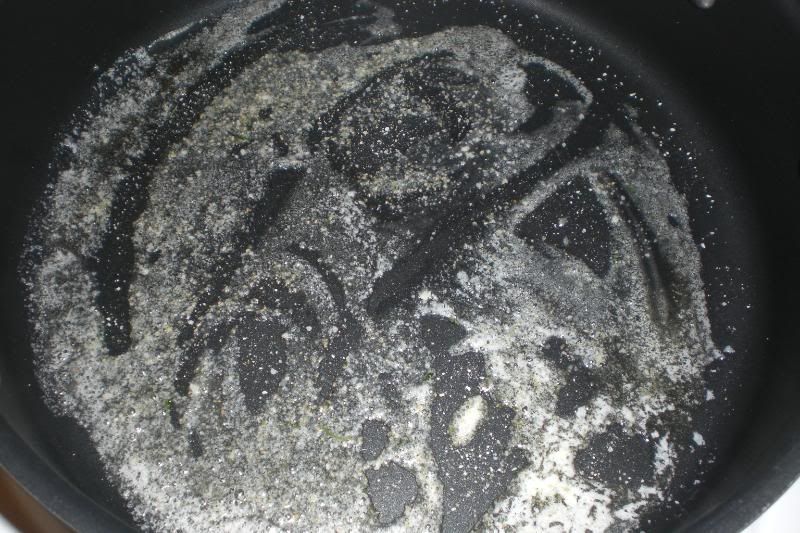
1. Melt 1 pat of butter in saute pan, along with 1/8tsp of Garlic Salt
creamy chicken and bowtie pasta


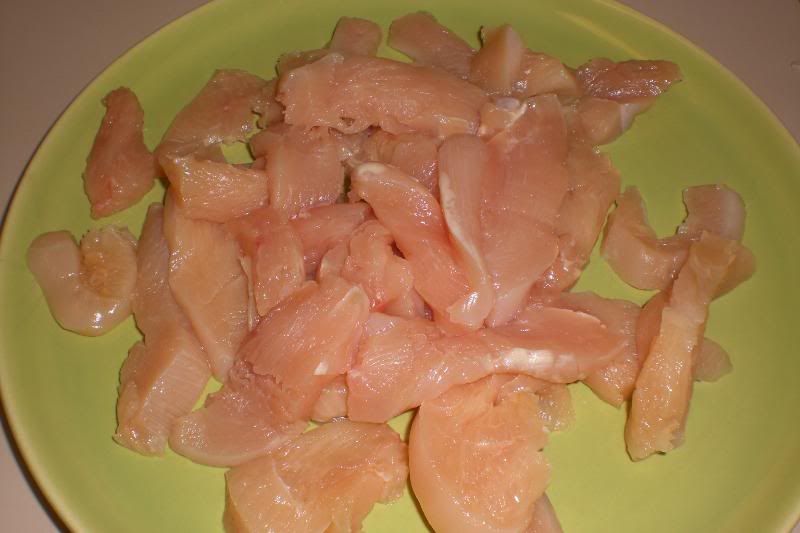
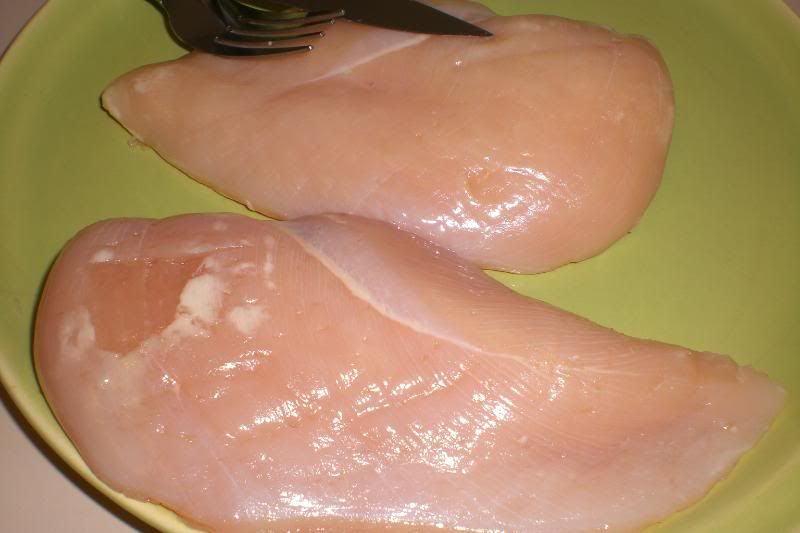
2. Cut fat and skin from two chicken breast
creamy chicken and bowtie pasta


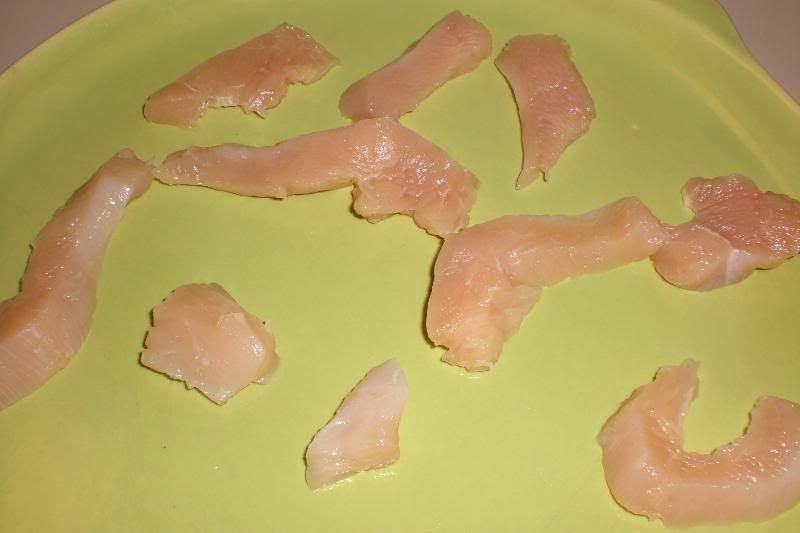
3. Slice breasts into thing strips (you will have more than this. I snapped a photo of this small amount so you could see size)
creamy chicken and bowtie pasta


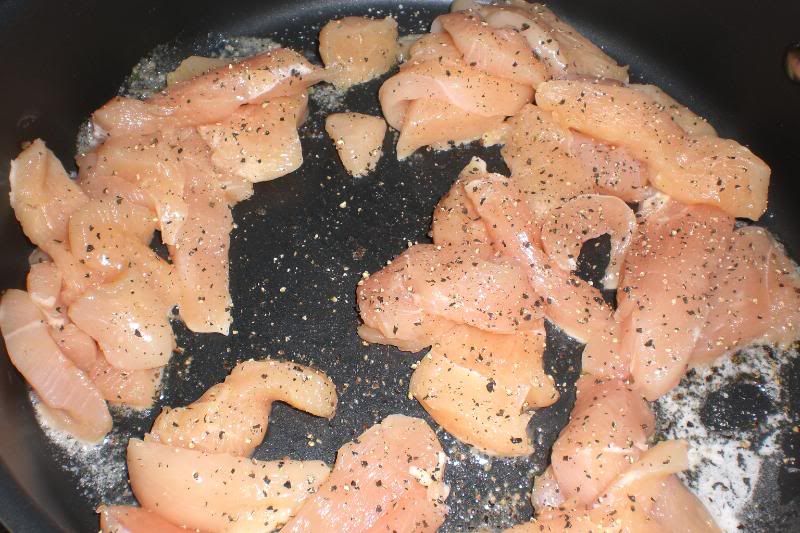
4. Add to saute pan, sprinkle with fresh pepper, cook on medium heat, till done
creamy chicken and bowtie pasta


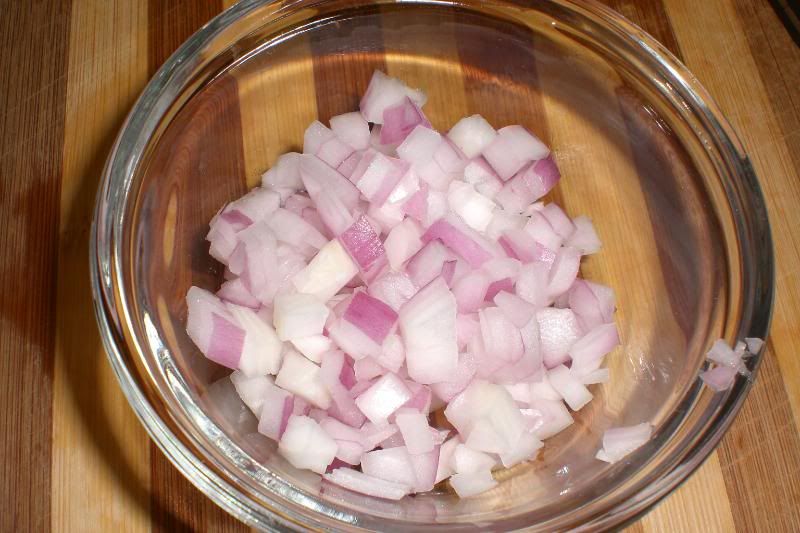
5. Dice 1/4 cup of Red Onion
creamy chicken and bowtie pasta


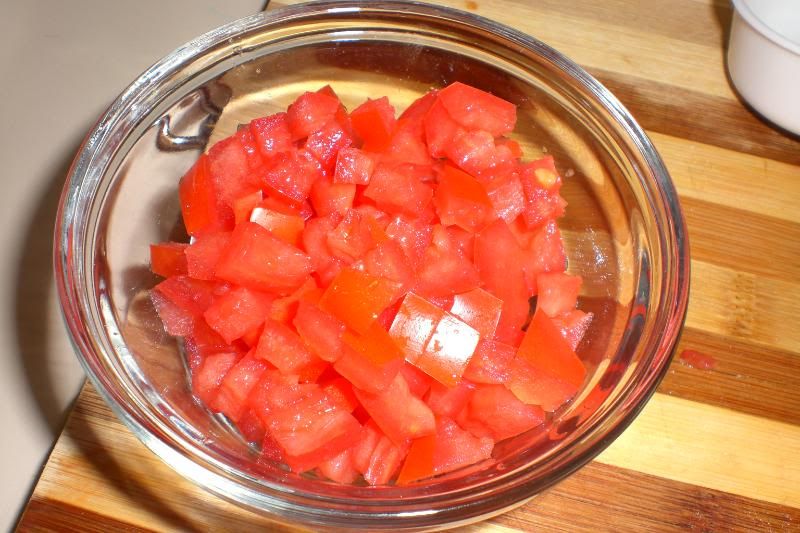
6. Dice 2 Roma Tomatoes
creamy chicken and bowtie pasta


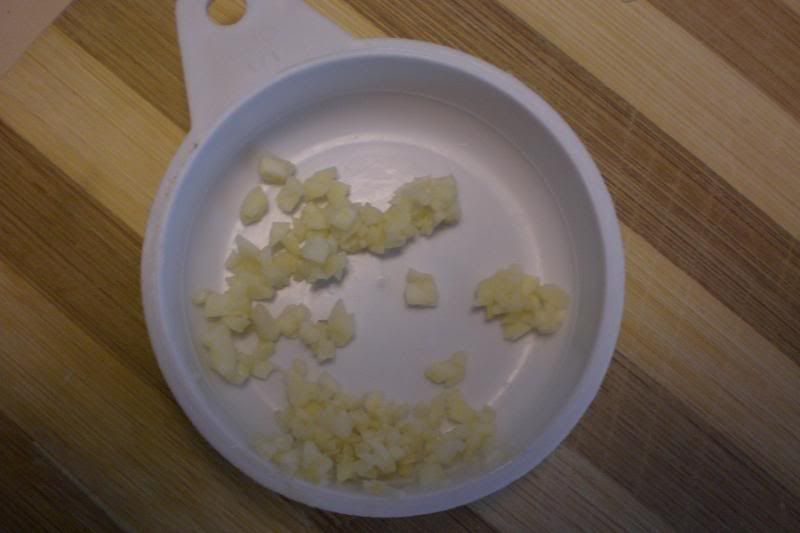
7. Mince Garlic
creamy chicken and bowtie pasta


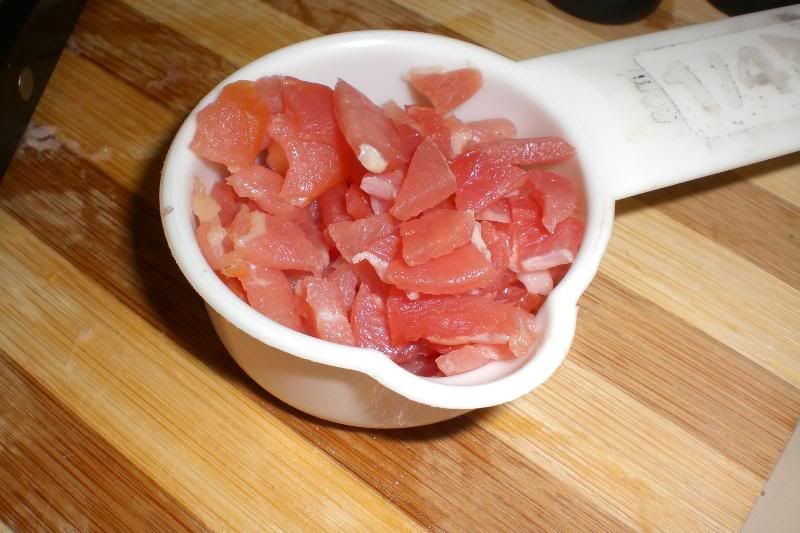
8. Cut up strips of Bacon, remove fat. Should equal 1/4 cup (It took 3 strips for me)
creamy chicken and bowtie pasta


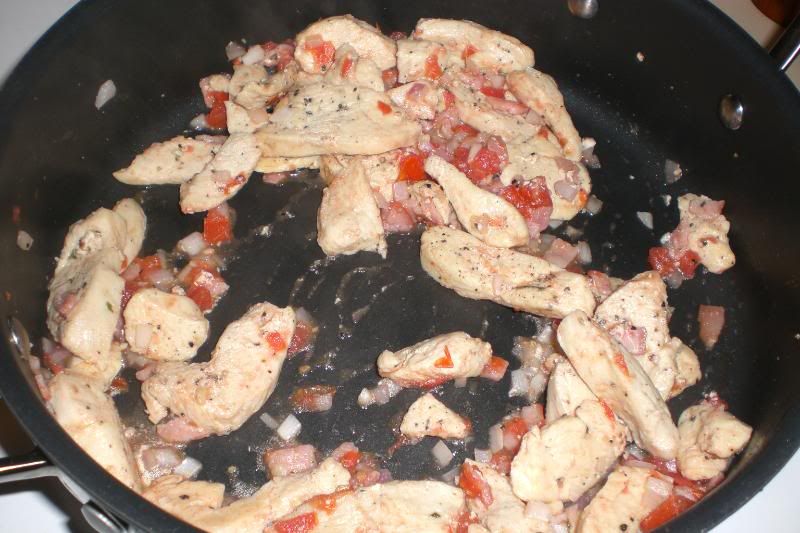
9. Add Ingredients chopped in steps 5-7 to cooked chicken. Saute until onions are translucent and bacon is cooked
creamy chicken and bowtie pasta


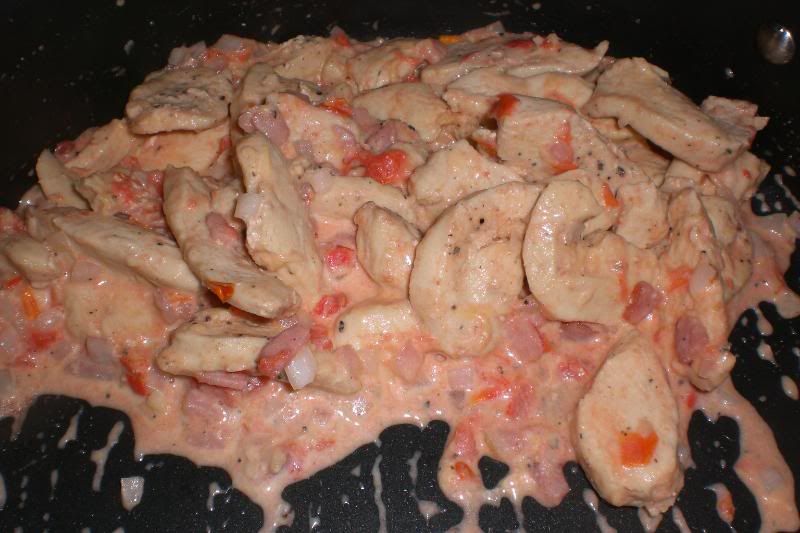
10. Turn down heat to medium low, add 2Tbsp Heavy Cream and Asiago cheese. Stir until mixed well. Turn down to low heat.
creamy chicken and bowtie pasta


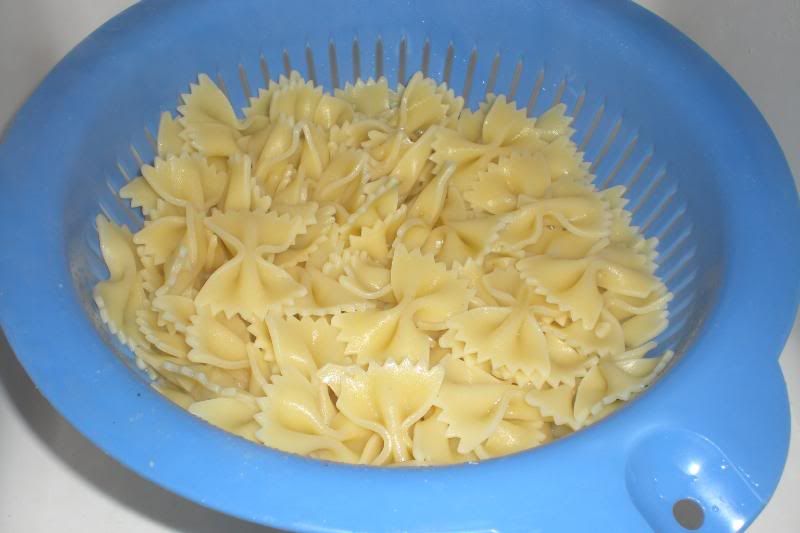
11. Cook 1 box of Bowtie Pasta, drain, add back to pot
creamy chicken and bowtie pasta


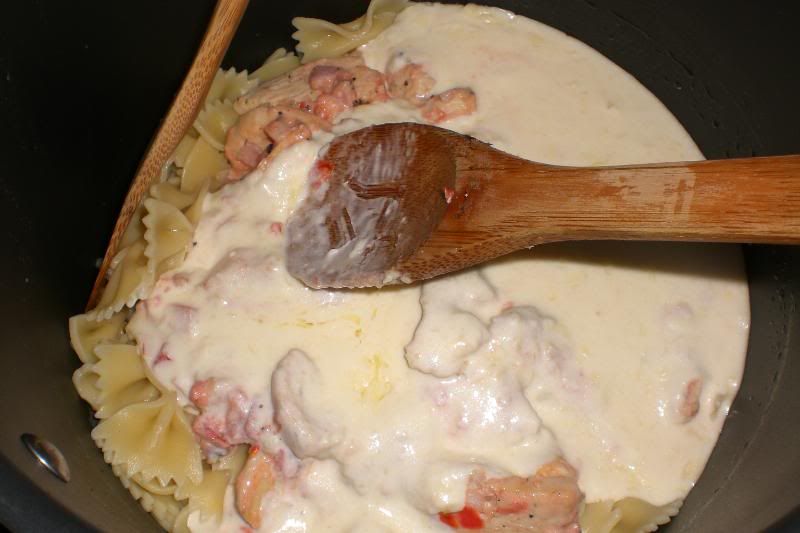
12. Toss together Bowtie Pasta with chicken mixture and Alfredo sauce
creamy chicken and bowtie pasta


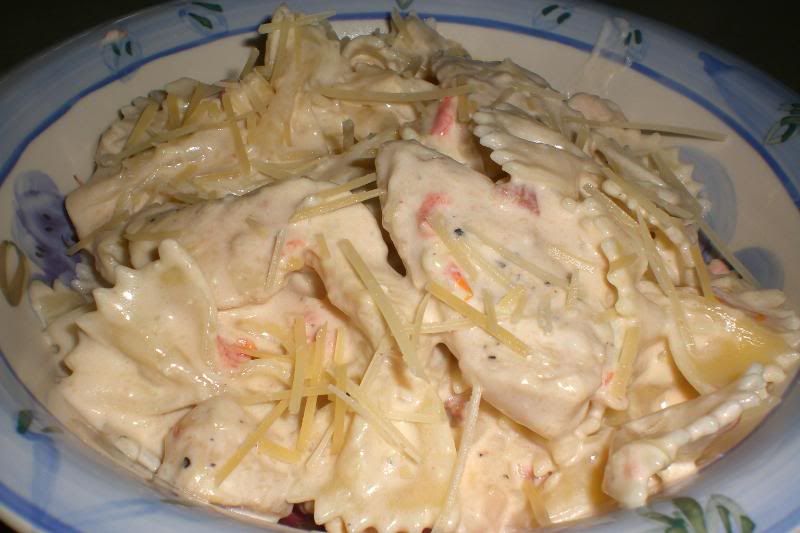
13. Serve hot with fresh bread!
creamy chicken and bowtie pasta

Thursday, December 17, 2009

3 Cheese Stuffed Shells

I love cooking Italian foods. Almost as much as I love eating them. One thing I have never eaten, even at my very first job as a waitress at Amalfi's, is stuffed shells. So, I decided that I was going to take a chance at making these.

And my family loved them. Even my very picky 7 year old.

Ingredients needed:

1 package of Jumbo Shells (I used Walmart brand)
4 cups of Mozzarella Cheese
4-6oz fresh Parmesan cheese
16oz Ricotta Cheese
1 Large egg
2Tbsp Oregano
1Tbsp Parsley
Salt and Pepper to taste
Garlic Powder or Fresh minced garlic
Your brand of Spaghetti Sauce

(I made a homemade mushroom and Italian sausage sauce with wine. I will post that later. For now, a good jar will be fine)

Prep Time: 30 minutes
Cook Time: 30 minutes


1. Boil the shells according to the directions. I boiled mine for 14 minutes. They were cooked well, but firm enough for me to move around and fill.

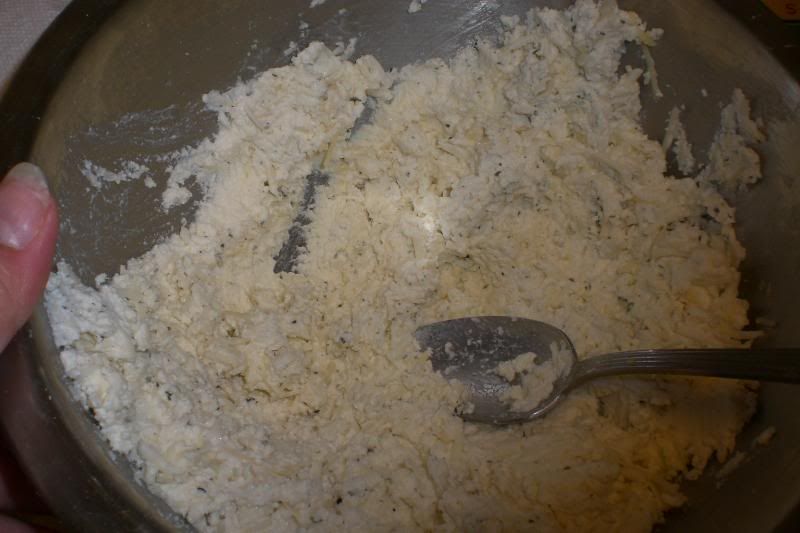
2. While they are cooking, mix together the following:
  • Ricotta Cheese
  • 2 cups Mozzarella
  • Parmesan Cheese
  • Egg
  • Parsley
  • Oregano
  • Salt and pepper
  • Garlic Powder or fresh minced Garlic to taste

Photobucket

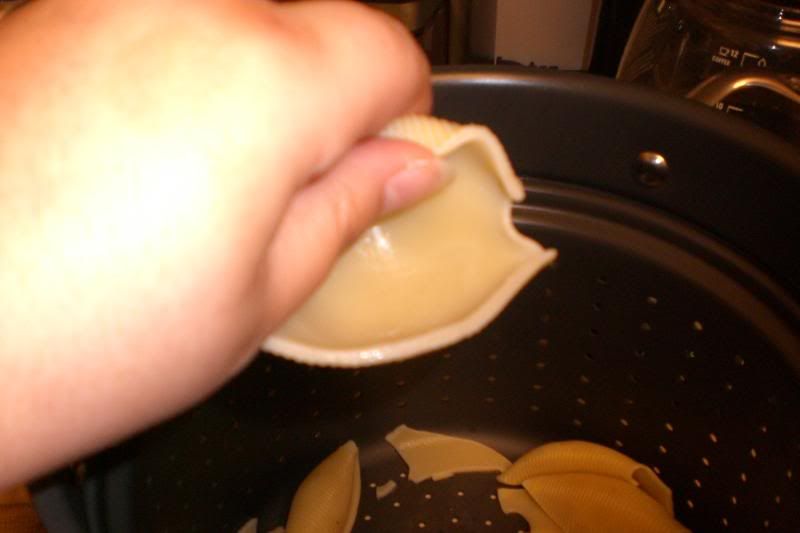
3. Drain Shells and rinse with cool water, so they are not to hot to handle. Once they have cooled enough to touch, spray 2 9x13 pans with butter spray
Photobucket

4. Preheat oven to 350

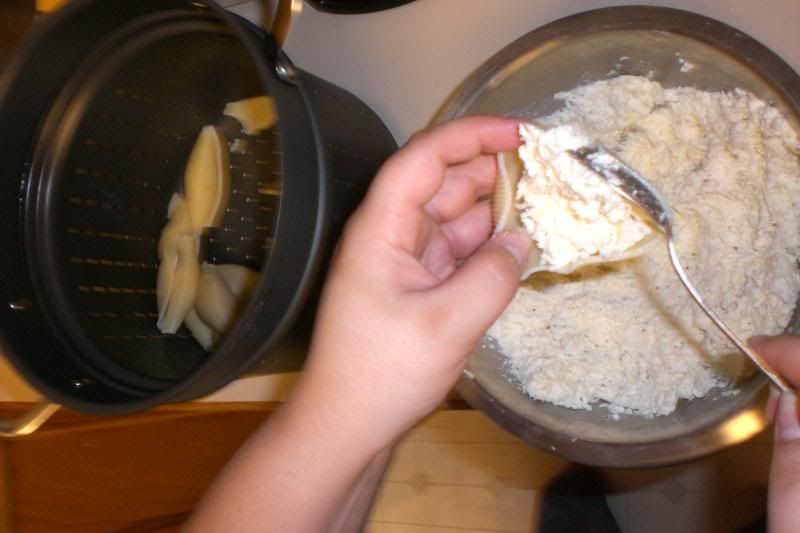
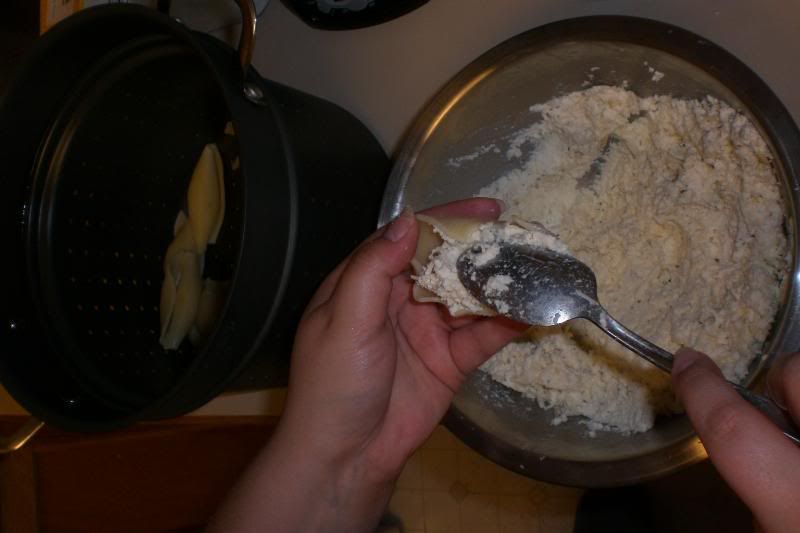
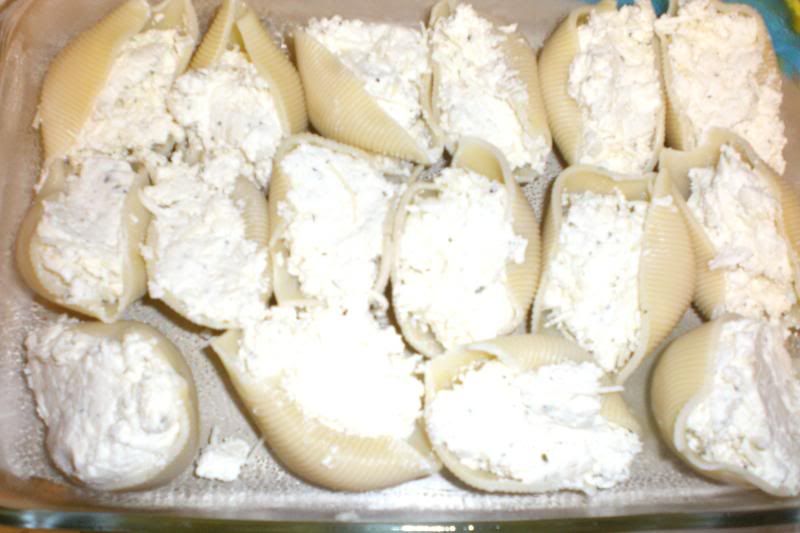
5. Fill each shell with 2 heaping Tbsp of the cheese mixture and place side by side in the dish
Photobucket
Photobucket
Photobucket

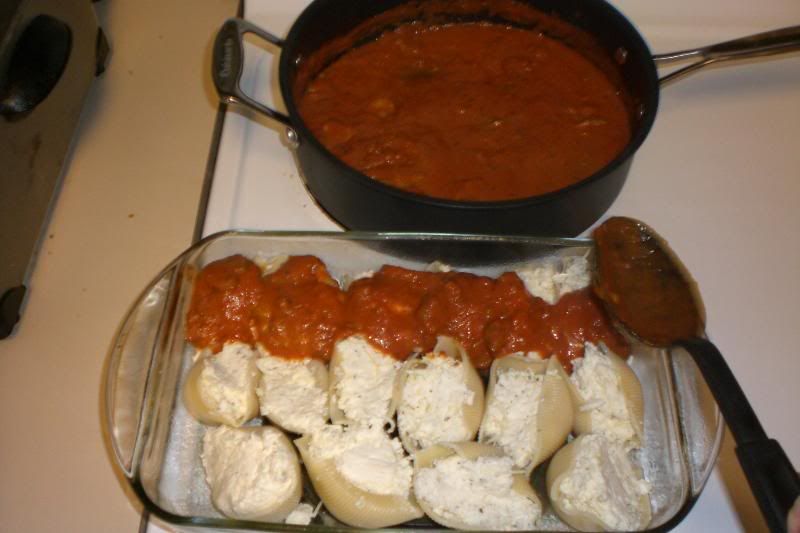
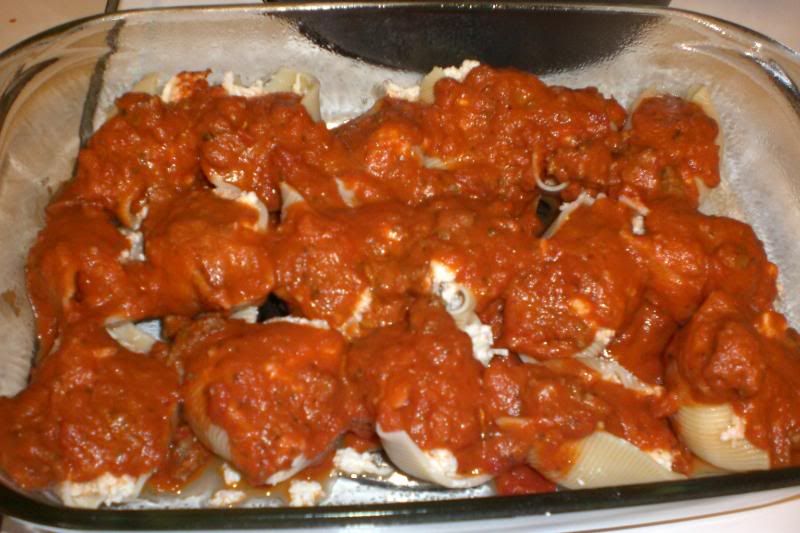
6. Cover the shells with your pasta sauce
Photobucket
Photobucket

7. Place tinfoil over the shells and bake for 20 minutes

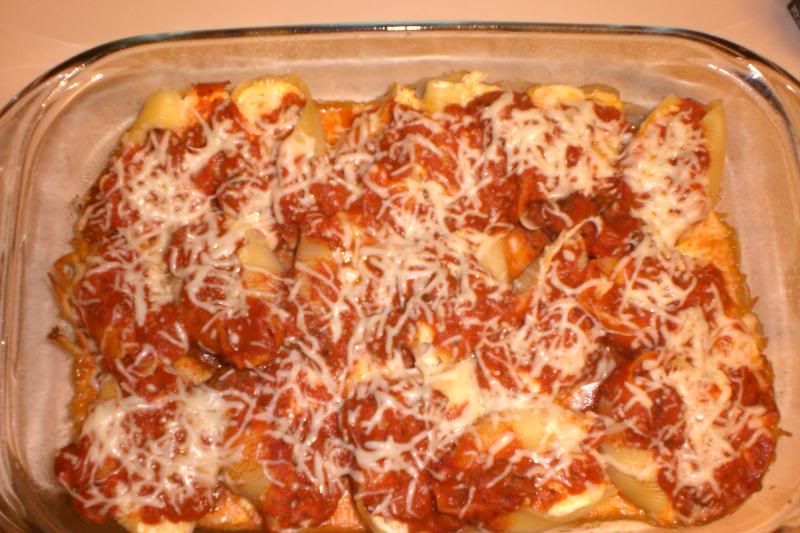
8. Remove from oven, sprinkle with 1 cup of Mozzarella and place back in the oven, uncovered, for 10 minutes. (since this makes 2 dishes, the last cup is for the last dish)
Photobucket

This meal is AWESOME. And makes an awful lot, so it might make sense for you to half the recipe. It sounds scarier than it is. I was amazed at how easy it really was, and how much fun I had making it.

Now, you can prep this the night before, and just throw it in the oven the next day. Cuts some of the stress.
Related Posts with Thumbnails