Thursday, December 31, 2009

Creamy Noodle Soup for the Sick

There will be only one picture to go with this meal because I am still sick, and am apparently the only person who can cook in this house. So, I cooked my own sick meal. But it's good, and works when you are too sick to cook the chicken to go with it.

Ingredients:

1 cup heavy cream/Half and half
10 cups chicken stock/chicken broth (I used frozen chicken stock I had saved in my freezer from previous)
3 cloves garlic
4 Tbsp Flour (overflowing)
16 oz (1lb) Dry Egg Noodles
Pepper to taste

1. Heat stock (or store broth) on medium heat. If using frozen stock, you can melt it out in the pan on medium high heat.

2. Mince garlic and add to broth

3. Heat milk slighty in saucepan and stir in flour, 1Tbsp at a time, until dissolved. Make t runny sauce, add to simmering stock pot.

4. Add noodles, and cook on medium (4 or 5 on traditional knob stoves) for 18-20, or until noodles are done. (taste to test if needed)

5. Add pepper for taste if needed.

Simple and yummy for those days when you feel like crawling out of bed is the best thing you can do all day.


Photobucket

Wednesday, December 30, 2009

Sorry!

We were at the beach for the Christmas holiday and I have come down with a really bad cold and ear infection, which is keeping me out of the kitchen. I promise to be back soon!

Thursday, December 24, 2009

Makeshift Double Boiler For Melting Chocolate

For those, like me, who just don't have a double boiler, it's easy to use what you already own to make one!

All you need to do, is use two pots, making sure that one pot can sit on top of the other pot without falling (OUCH).

Oreo Truffles

1. Fill the bottom pot with water, and set on the stove, to a medium temperature.

2. Place chocolate candies inside second pot, and place pot on top of the water pot. (Still with me?)

3. Stir the chocolate with wooden spoon, until it has melted and is shiny.

4. Remove top chocolate pot, and use

Tips: Do not remove the water pot from the stove. If you are working on a big project, the chocolate candies can start to thicken up, and all you need to do is place the chocolate pot back on top for a minute to get it back to the consistency you need.

Oreo Truffles: AKA Reindeer Droppings

My sister told me about this recipe. She's also the one that suggested that I use white chocolate instead of semi sweet. "Regular chocolate makes them good, white makes the AWESOME!" were her words.

All you need for this recipe are 3 simple ingredients:
  • 2 bags Chocolate chips or Bakers Chocolate (any flavor you want)
  • 1 package of Oreos (off brand fine)
  • 1 8oz package of cream cheese

1. Place the oreos in a freezer bag and pound the heck out of them with a mallet. It's a great way to relieve tension!
Oreo Truffles
Oreo Truffles

2. Pour crushed oreos into a bowl and set to the side.
Oreo Truffles

3. Place cream cheese into another bowl, and soften in the microwave for 30 seconds

4. Use your blender/mixer and cream the cream cheese

5. Add and blend in the oreos, 1 cup at a time, until all oreos are thoroughly mixed with the cream cheese
Oreo Truffles

6. Roll mixture into balls and place on a cookie sheet lined with Wax paper.
Oreo Truffles

7. (optional) Place lollipop sticks in middle of each ball
Oreo Truffles

8. Place in the fridge to chill for 1 hour (or more)

9. Use a double boiler, or if you do not have one, make one by setting two pots together (I do) and melt the chocolate, stirring until shiny.
Oreo Truffles

10. Remove chocolate pot and start dipping your oreo mixture until fully covered. Use a spoon to help if needed.
Oreo Truffles
Oreo Truffles

11. Place back on the wax paper and allow to cool
Oreo Truffles
Oreo Truffles

Now you have yummy Oreo Truffles. You can have fun with them! If you like, you can drizzle a different flavor chocolate on top of them, making cool designs, or if you made them with lollipop stick like I did, think about melting another type of chocolate candy and dipping the truffles again, about half way, making them two toned.

Now, I need to finally take a second to clean my messy kitchen and get the house ready for Santa before I bake his cookies.

Tuesday, December 22, 2009

Tuesday Tips

If you are looking for recipes, but don't want to invest in new cookbooks, where you might get 6 recipes that you actually like, check out your local library. You can borrow those books for up to a month and copy any recipes you would like to try.

Cheesy Cheaters Italian Meatloaf

I call this a cheaters meatloaf, since I instead of going through the process of making my own personal sauce to mix with it, I cheat, and use Manwich. Not Sloppy Joe, but Manwich. There's a difference.

Matt gives this recipe a 5 out of 5, and Thumbelina and Alice couldn't stop eating it, and they are super picky. You can also leave the cheese out of this recipe if you want.

Ingredients:

2lbs Hamburger meat
2 Large Eggs
1 cup Italian bread crumbs
1 can of Manwich
8 oz Mozzarella cubed
2/3 cup Mozzarella shredded

1. Preheat oven to 375 degrees

2. Mix together the following:
  • hamburger meat
  • 2 large eggs
  • 2/3 of the Manwich
  • 1 cup bread crumbs

Cheesy Cheaters Italian Meatloaf

3. Once this is mixed well (if too "juicy" add a few more bread crumbs), add the 8oz of cubed cheese and mix in with your hands.
Cheesy Cheaters Italian Meatloaf

4. Grease a 9x13 dish, and form meat into the shape of a loaf
Cheesy Cheaters Italian Meatloaf

5. Place in preheated oven for 45 minutes

6. Remove from oven, cover with remaining 1/3 can of Manwich and 2/3 cup of shredded Mozzarella.
Cheesy Cheaters Italian Meatloaf

7. Place back in oven for 15 minutes

8. Remove, cool, and serve
Cheesy Cheaters Italian Meatloaf

Cheesy Cheaters Italian Meatloaf

Baked Stuffed French Toast

This is a super easy, simple meal to prepare, that looks like it takes more effort than it really does. I used blueberries, because I have some frozen on hand in my freezer, but I can't wait to try it with strawberries or peaches. Yummy. You can make this without fruit if you want, but I don't see why!

Ingredients:

1 Loaf of bread (I used 20 slice total of Arnolds Whole Grain White)
1.5 cups of Milk
4 large eggs beaten with wisk
1/4 cup of Maple Syrup (sub sugar if needed)
1 Tbsp of sugar
2 tsp Vanilla flavor
3 tsp Cinnamon
8 oz cream cheese cut in 1/2 cubes
2 cups of your favorite fruit (optional)
powdered sugar (optional)

1. Cut the crust off of your bread
Baked Stuffed French Toast

2. Take 10 slice and cut into thick strips
Baked Stuffed French Toast

3. Grease/Spray 9x13 pan and place strips down
Baked Stuffed French Toast

4. Mix together:
  • eggs
  • vanilla
  • milk
  • syrup
  • sugar

Baked Stuffed French Toast

5. Rinse your fruit choice and place on top of bread strips
Baked Stuffed French Toast

6. Slice cream cheese and sprinkle atop of the fruit (or if no fruit, the bread strips)
Baked Stuffed French Toast

7. Lay remaining bread slices on top
Baked Stuffed French Toast

8. Pour egg mixture on top of the bread, making sure you cover all spaces
Baked Stuffed French Toast

9. Cover with tinfoil, and place in fridge overnight to soak

10. The next morning, preheat the oven to 350, and bake, covered, for 55 minutes.

11. Remove tinfoil, and bake uncovered for 5-7 more minutes
Baked Stuffed French Toast

12. (optional) Sprinkle with Powdered Sugar

The final product doesn't look as good as it taste. Trust me!
Baked Stuffed French Toast

Friday, December 18, 2009

Easy Garlic Noodles

This is a simple side dish that I make if I do not have a lot of time. It's super easy, and you season to your own taste. Be careful to not OVER garlic. As I said, this is a simple dish, for those nights when you are in a mad rush. Total cook and prep time isn't more than 15 minutes, and that is including waiting for the the water to boil.

Ingredients:
  • 1 package Egg Noodles
  • Garlic Powder
  • Italian Seasoning
  • Butter and/or Olive Oil
  • Fresh cracked pepper
1. Boil Noodles as directed. Strain

2. Mix together the seasonings. Mixed together, I have about 1 and 1/2 teaspoons. I recommend starting out with small amounts so you can season these to your own tastes.
Photobucket

3. Mix together melted 3 Tbsp butter and 1 and 1/3 Tbsp olive oil (you can use all olive oil, or all butter if you prefer)

4. Stir butter/olive oil into noodles

5. Mix in the seasoning. Taste, and add more seasoning if needed.
Photobucket

Thursday, December 17, 2009

3 Cheese Stuffed Shells

I love cooking Italian foods. Almost as much as I love eating them. One thing I have never eaten, even at my very first job as a waitress at Amalfi's, is stuffed shells. So, I decided that I was going to take a chance at making these.

And my family loved them. Even my very picky 7 year old.

Ingredients needed:

1 package of Jumbo Shells (I used Walmart brand)
4 cups of Mozzarella Cheese
4-6oz fresh Parmesan cheese
16oz Ricotta Cheese
1 Large egg
2Tbsp Oregano
1Tbsp Parsley
Salt and Pepper to taste
Garlic Powder or Fresh minced garlic
Your brand of Spaghetti Sauce

(I made a homemade mushroom and Italian sausage sauce with wine. I will post that later. For now, a good jar will be fine)

Prep Time: 30 minutes
Cook Time: 30 minutes


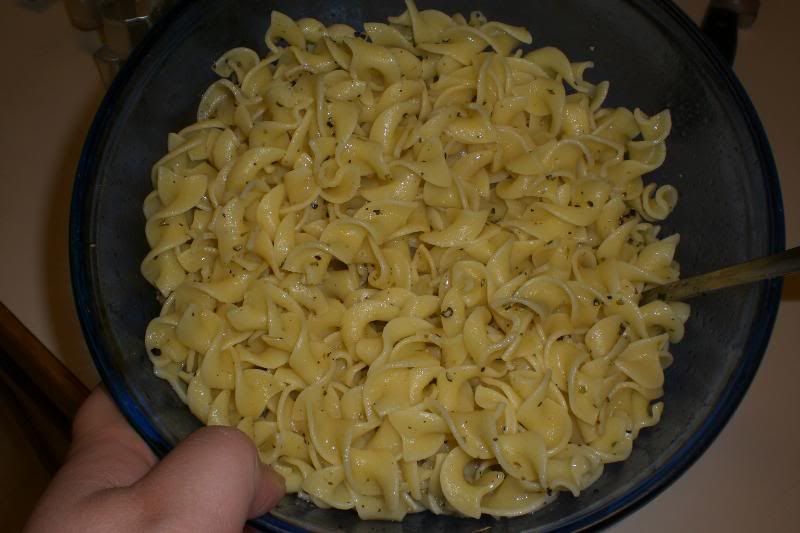
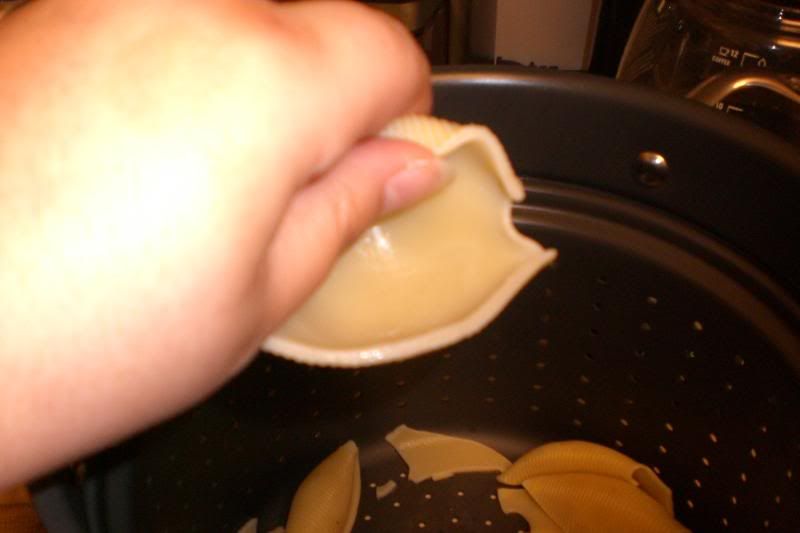
1. Boil the shells according to the directions. I boiled mine for 14 minutes. They were cooked well, but firm enough for me to move around and fill.

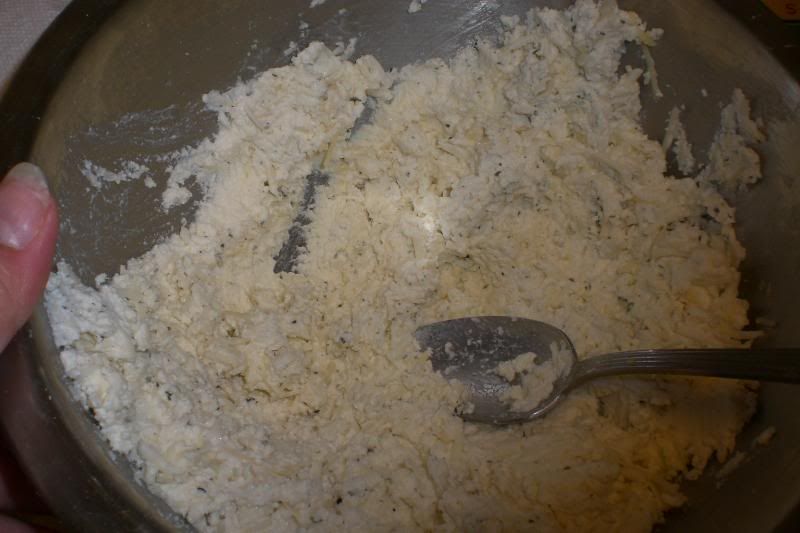
2. While they are cooking, mix together the following:
  • Ricotta Cheese
  • 2 cups Mozzarella
  • Parmesan Cheese
  • Egg
  • Parsley
  • Oregano
  • Salt and pepper
  • Garlic Powder or fresh minced Garlic to taste

Photobucket

3. Drain Shells and rinse with cool water, so they are not to hot to handle. Once they have cooled enough to touch, spray 2 9x13 pans with butter spray
Photobucket

4. Preheat oven to 350

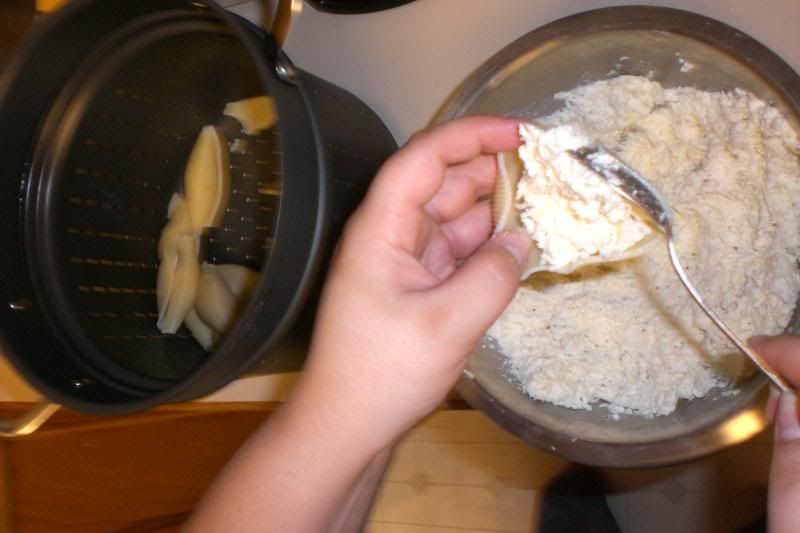
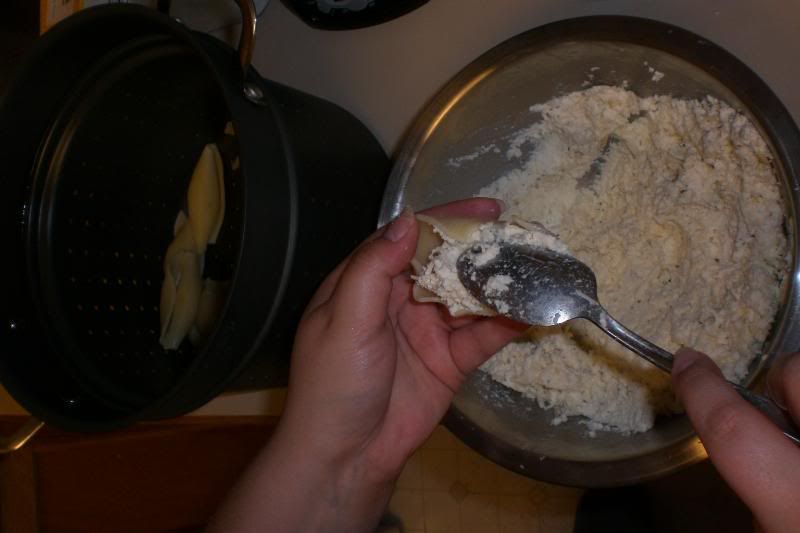
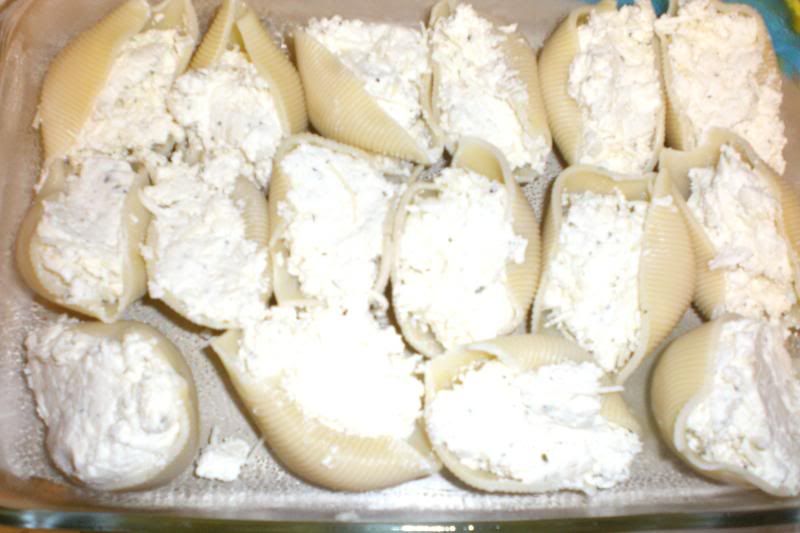
5. Fill each shell with 2 heaping Tbsp of the cheese mixture and place side by side in the dish
Photobucket
Photobucket
Photobucket

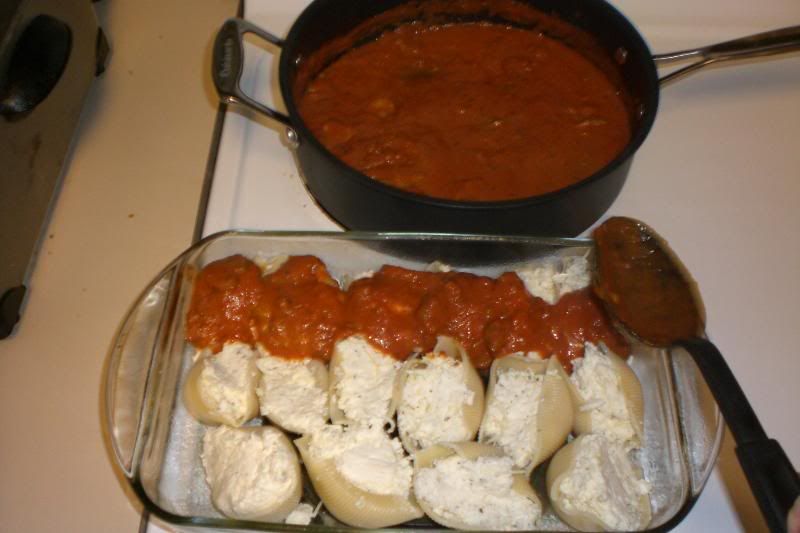
6. Cover the shells with your pasta sauce
Photobucket
Photobucket

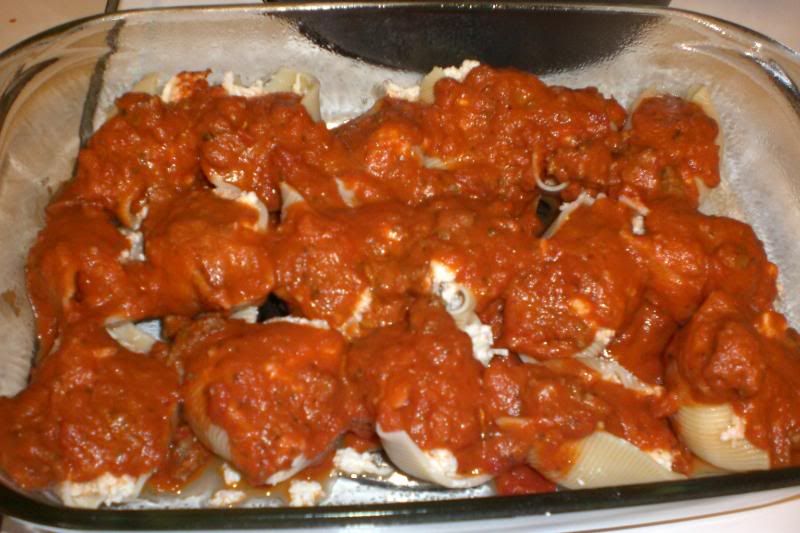
7. Place tinfoil over the shells and bake for 20 minutes

8. Remove from oven, sprinkle with 1 cup of Mozzarella and place back in the oven, uncovered, for 10 minutes. (since this makes 2 dishes, the last cup is for the last dish)
Photobucket

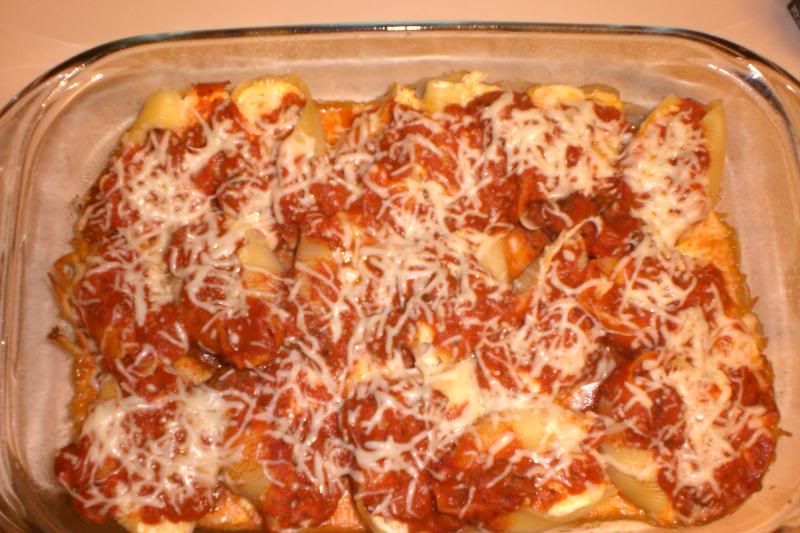
This meal is AWESOME. And makes an awful lot, so it might make sense for you to half the recipe. It sounds scarier than it is. I was amazed at how easy it really was, and how much fun I had making it.

Now, you can prep this the night before, and just throw it in the oven the next day. Cuts some of the stress.
Related Posts with Thumbnails